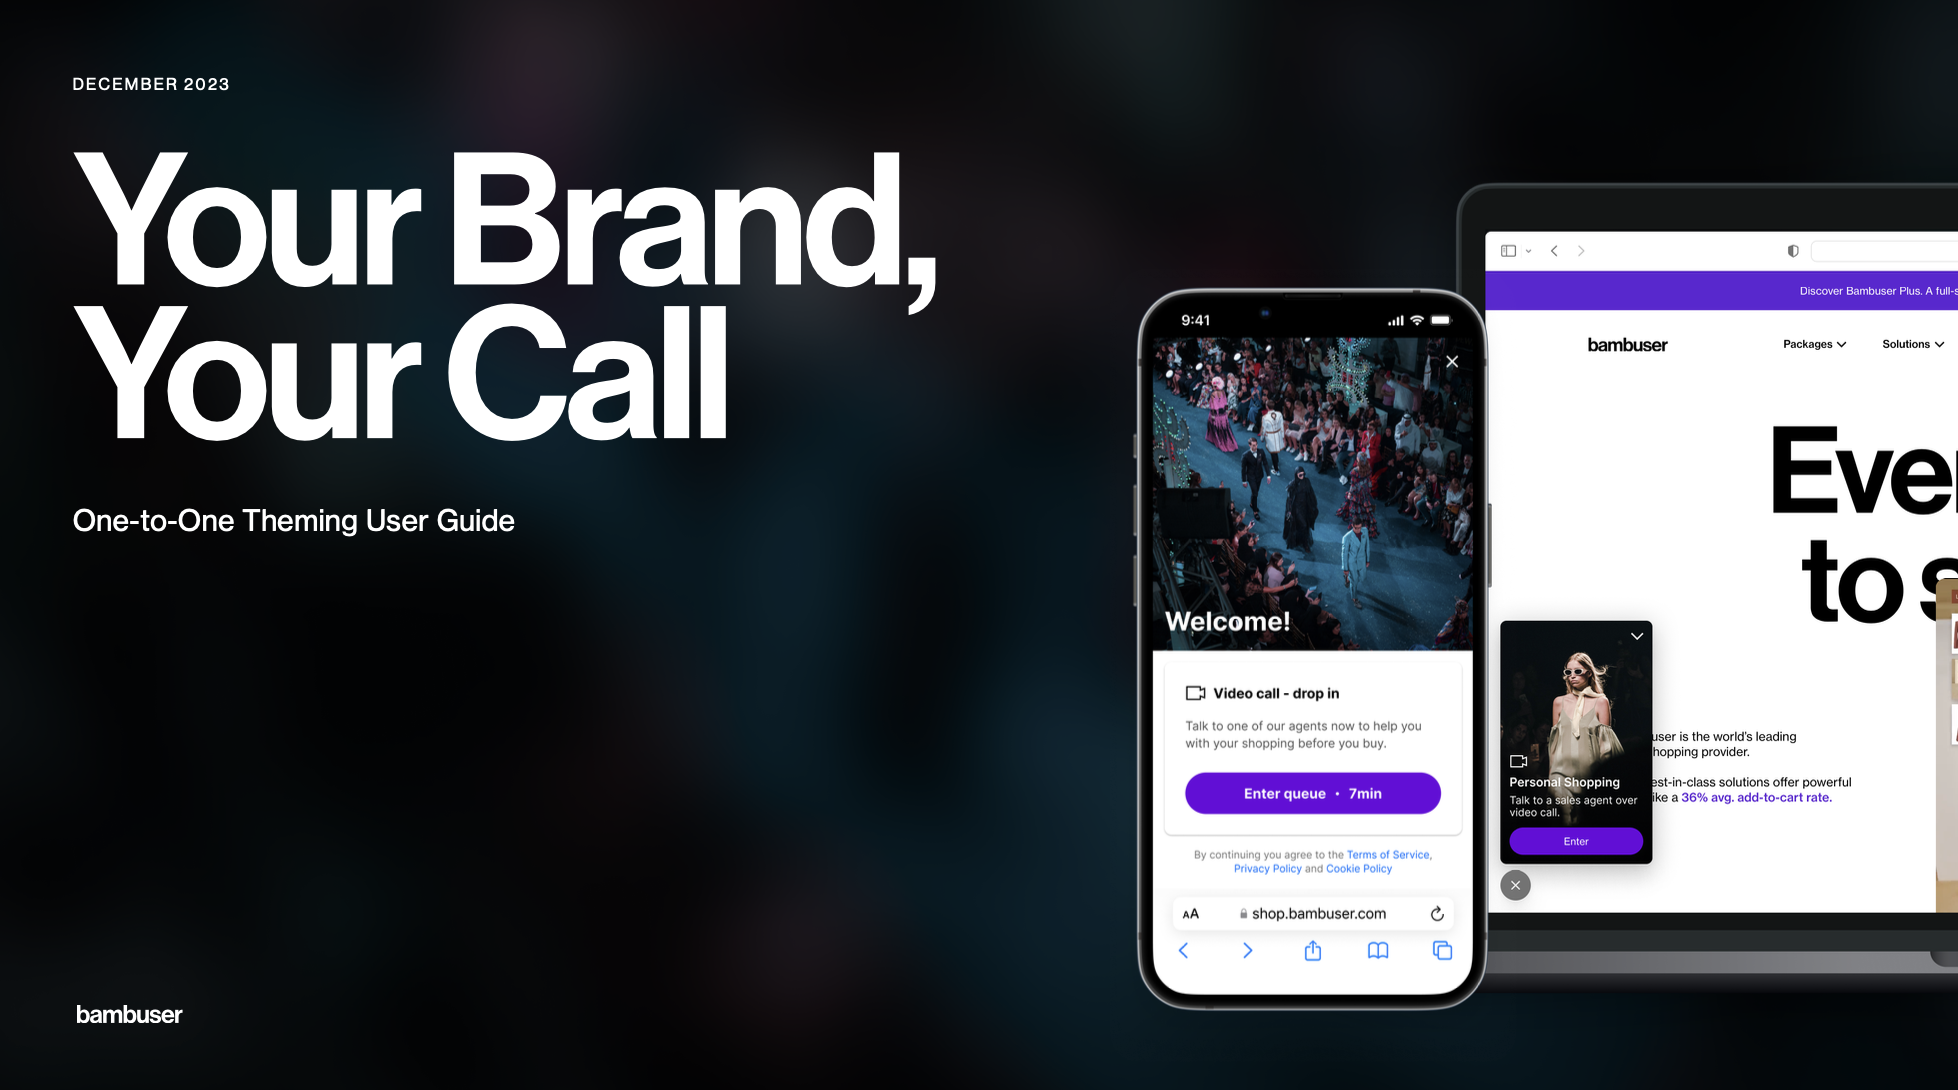
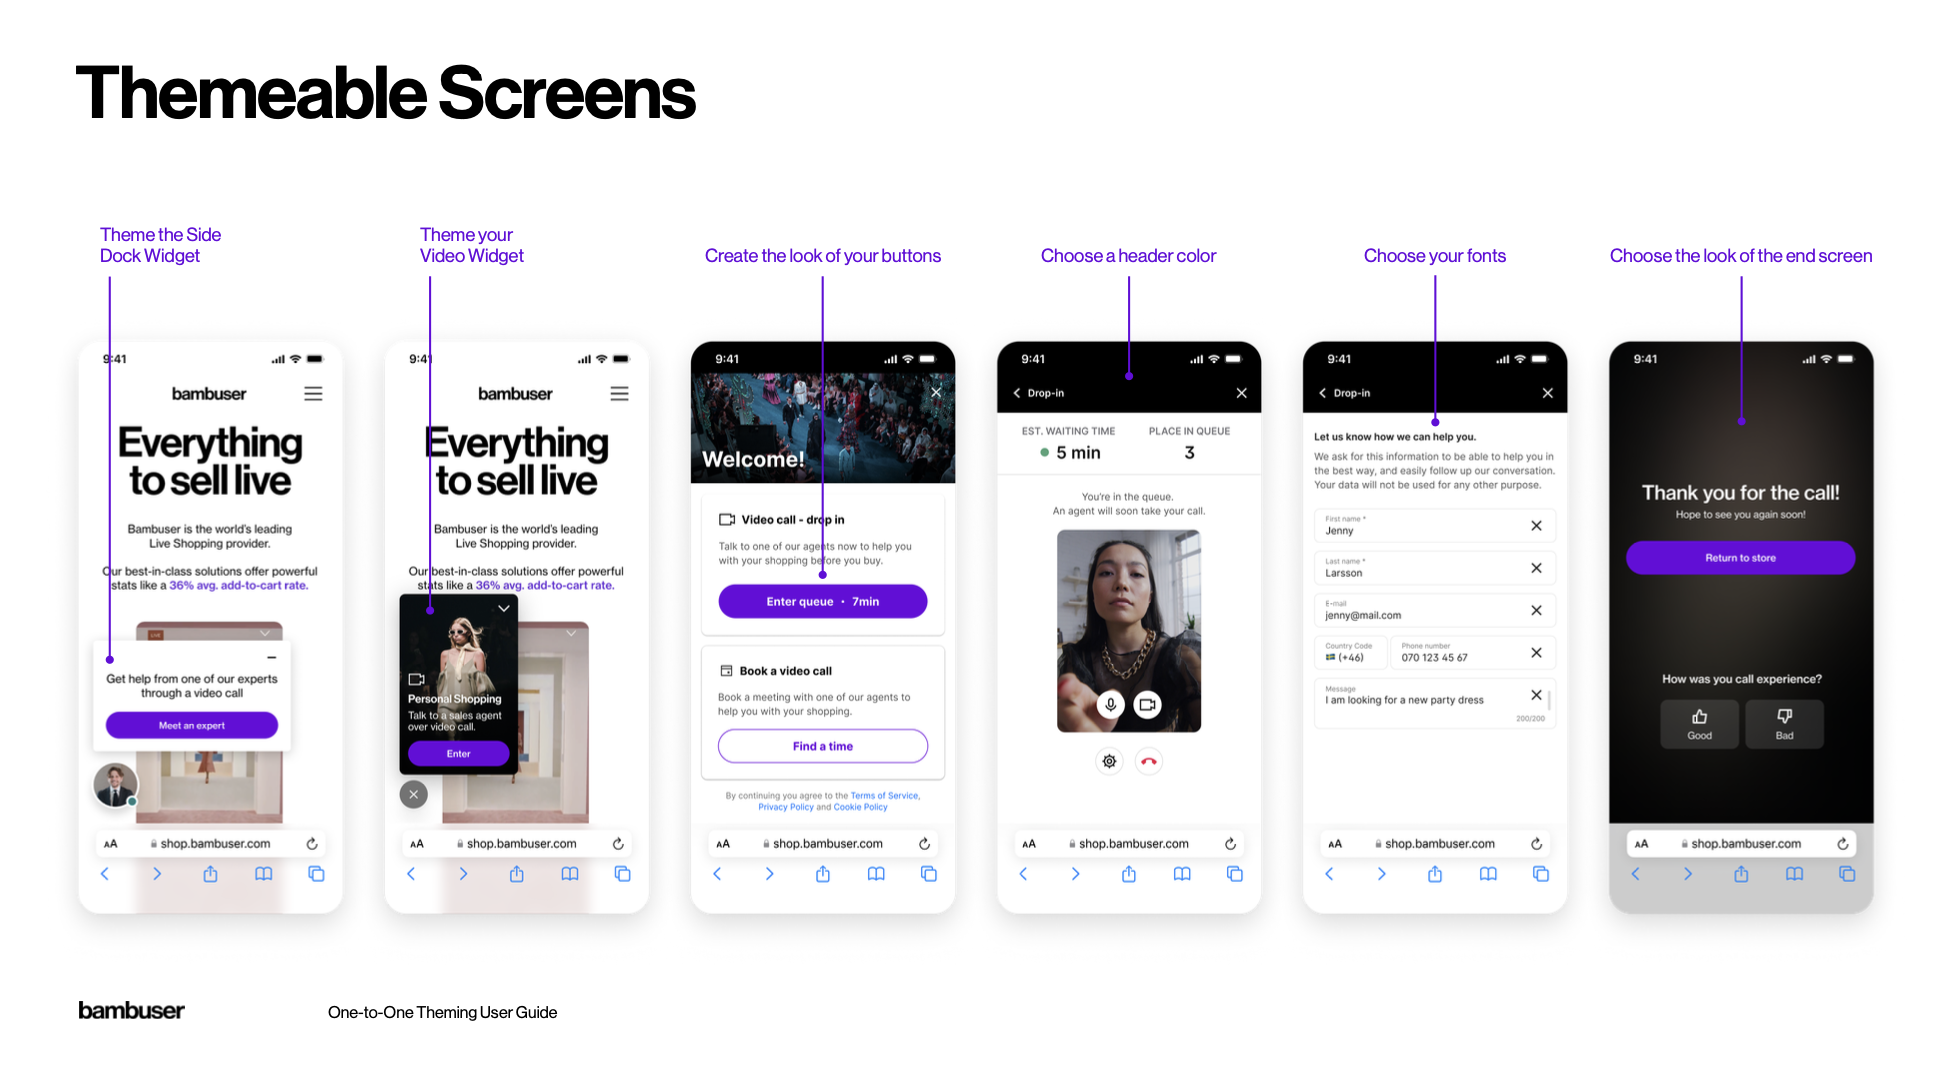
The Bambuser Call Widget can be themed and configured to showcase your unique brand colors, logo, and image.
Design your Call Widget following these short steps:
Explore the One-to-One Theming User Guide below
- Go to Settings and Themings in your Bam Hub
- Customize the typography, colors, elements, and components of the Call Widget so they align perfectly with your brand’s identity
- Effortlessly preview your theme adjustments by using the Preview button before finalizing and publishing the changes
Theming User Guide
Explore the Bambuser_One-to-One_Theming_User_Guide.pdf
Multiple Theming
| This feature is exclusively available for the Bam Player. Still on the Standard Player? Read this guide on how to easily switch. | 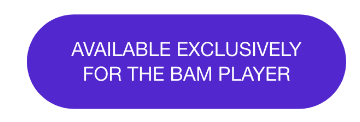 |
You also have the power to seamlessly switch between different themes for your widget, giving you the flexibility to tailor each experience to your specific needs or audience. Whether it's showcasing different products, running specific campaigns, or adapting to seasonal changes, you have the flexibility to tailor your theming accordingly. This enhancement is designed to elevate viewer engagement and provide a more personalized experience than ever before.
How to Create a New Theme
- Click Theming under Settings in the left menu
- Click NEW THEME in the upper right corner
- Assign a name to your theme
- Click on CREATE THEME to proceed
- This will open up Self-Serve Theming - follow the instructions to create a theme
How to Enable Themes
- Go to Theming under Settings
- Select the three dots located beneath the desired theme for your widget, then click Make Default
Translations
The language visible within your call widget can also be customized directly in Settings from your Bambuser web app.
How to add, edit and set default languages for the player:
- To manage translations, go to Translations under Settings in the left-hand menu of your Bambuser web app.
- There will be one default language. To add more languages, click + Language in the top right corner and select as many as you wish to offer your shoppers.
- To set a default language, click the three dots next to the desired language and select Set as Default.
- You can view and customize the text for each language by clicking on it within the list, allowing you to tailor the translations as needed.
Additional information
- Default language: When you set a default language, it will be used across your products, but you can choose different languages for your shows, videos and calls. You can only choose one default language per product, but you can add any additional languages of your choosing to your list of available translations.
- Personalized experience: If a shopper's browser is set to one of the available languages (or locale), their video commerce experience will be personalized accordingly. If their browser is set to a language that is not on your list, the default language will be shown.
- Save & Publish: For Digital Clienteling, saved edits will appear in the product immediately. For Social Commerce, it may take up to an hour for changes to be visible.
- Screenshots: When customizing translations, clicking on the key you want to translate will display screenshots that help you visualize where the text appears in the product.