Table of Contents
1. Going live with Bambuser2. Player behaviors3. Bambuser's Key Features3.1 Livestreaming options3.2 Social Media Multistreaming3.3 Floating Action Widget 3.4 Channels4. Education Center5. Onboarding guide
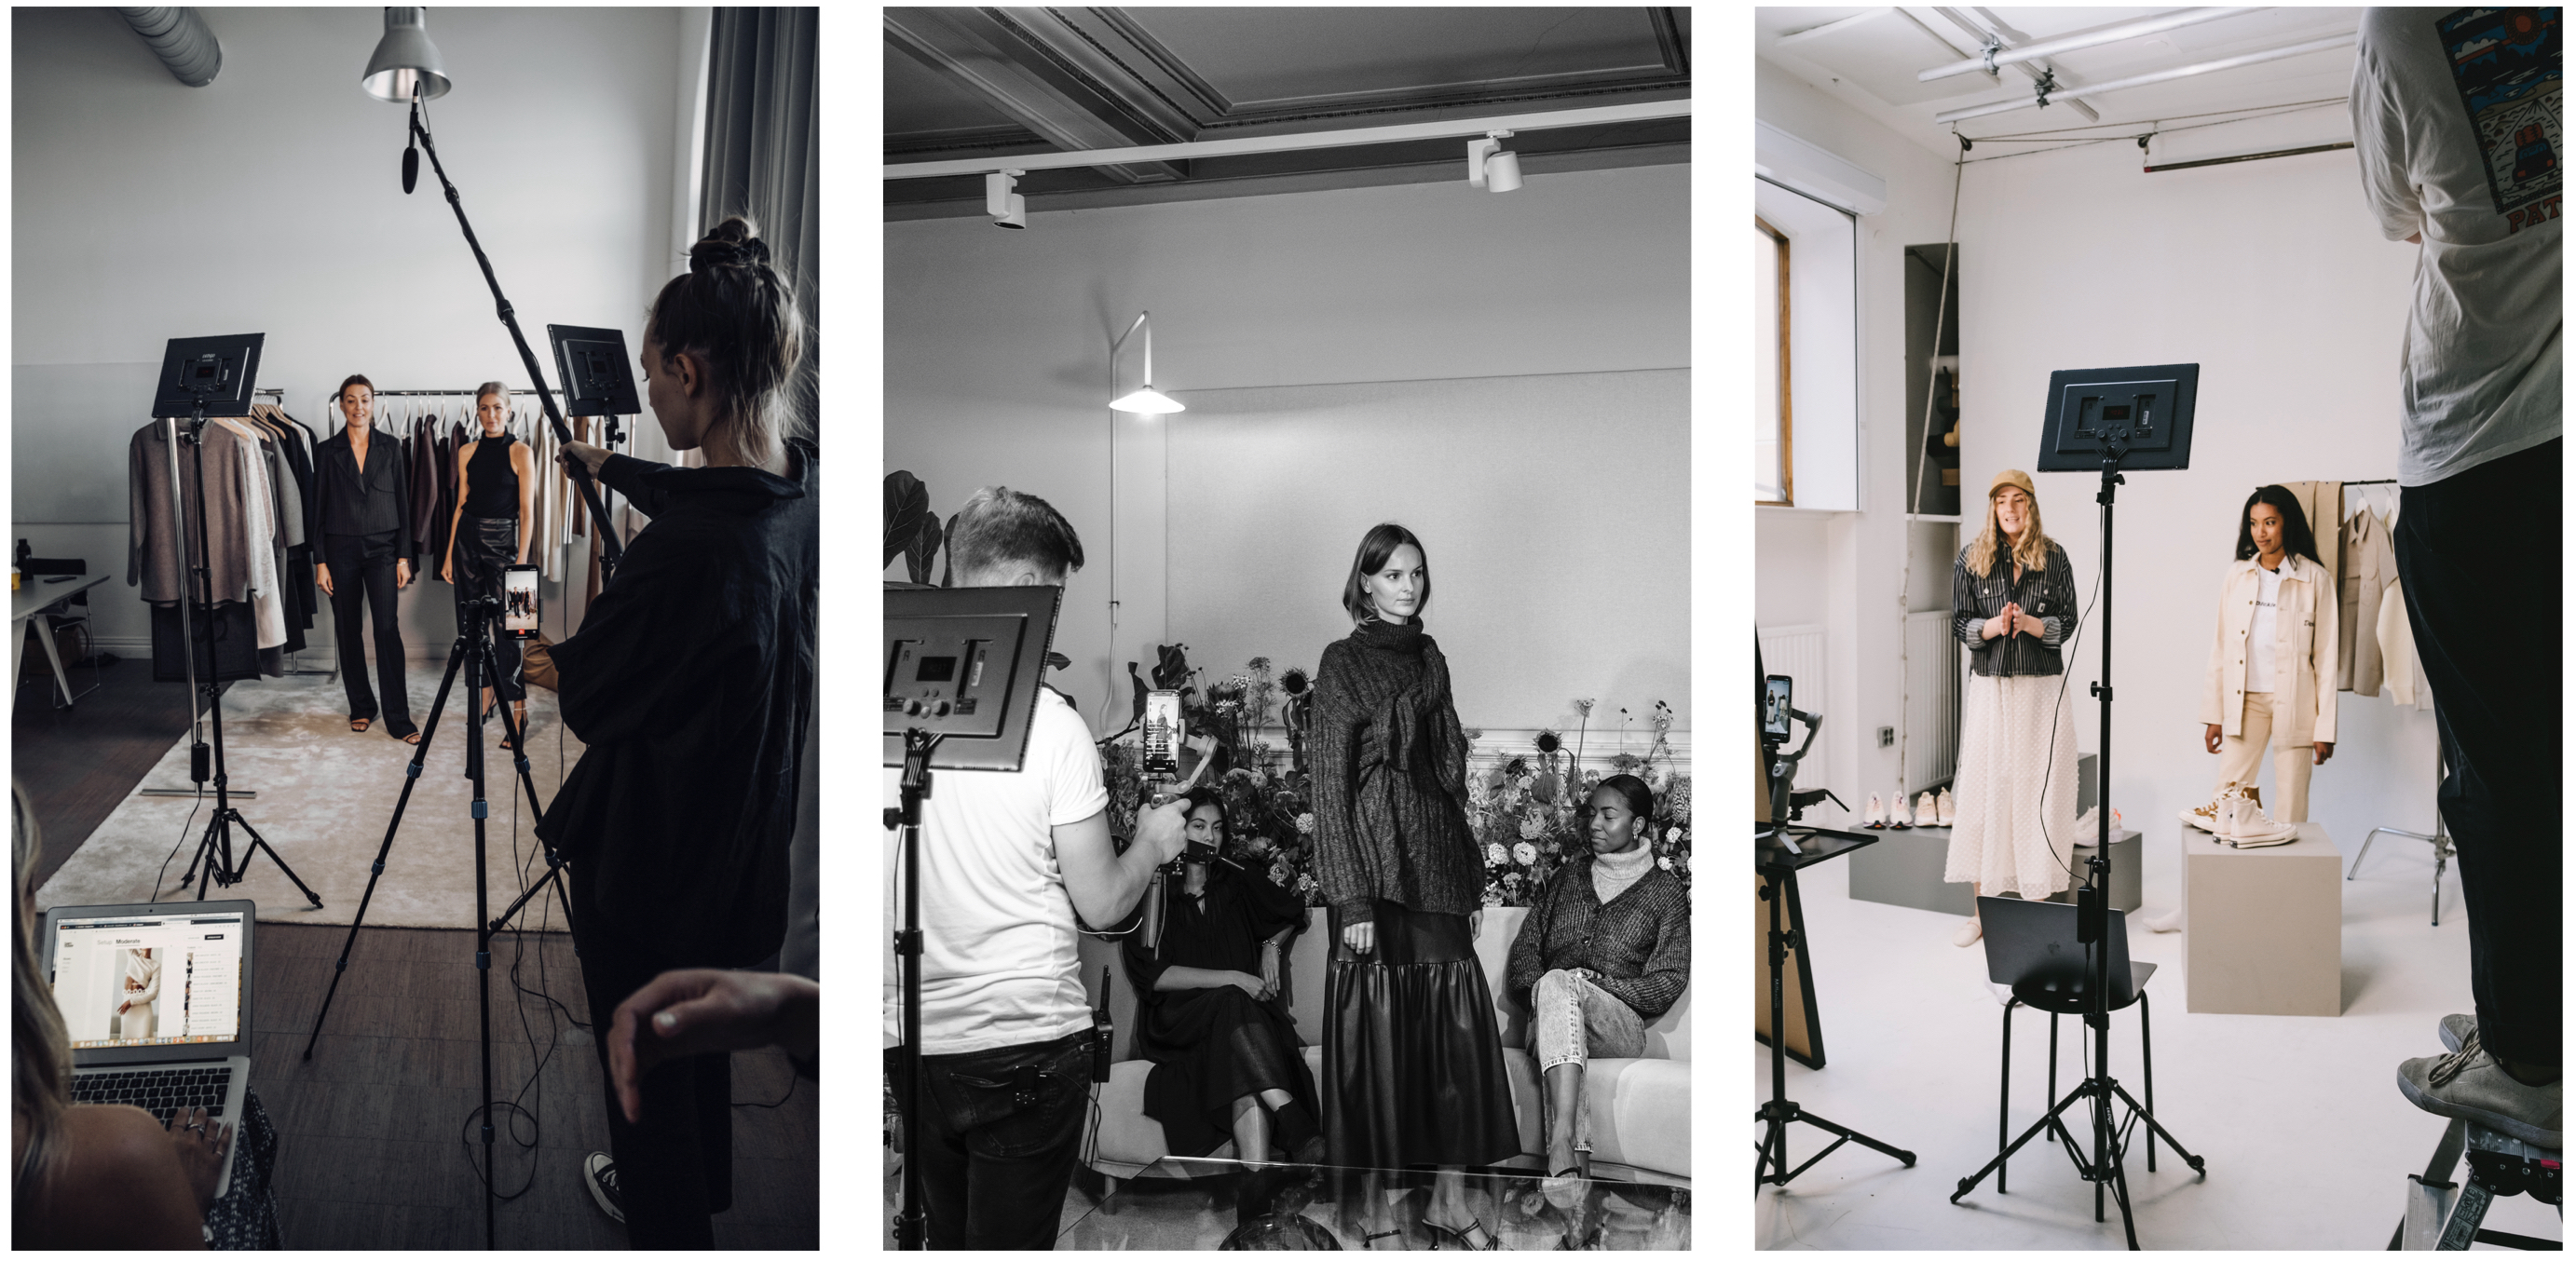
This step-by-step walkthrough will guide you and your team on what you need to do when getting set up to use Bambuser's One-to-Many solution. Before we start, here are some key features we recommend you get to grips with to help optimize your Live Video Shopping experience.
1. Going live with Bambuser
There are three platforms you'll use to interact with Bambuser's solutions:
- The dashboard
- The app
- The player
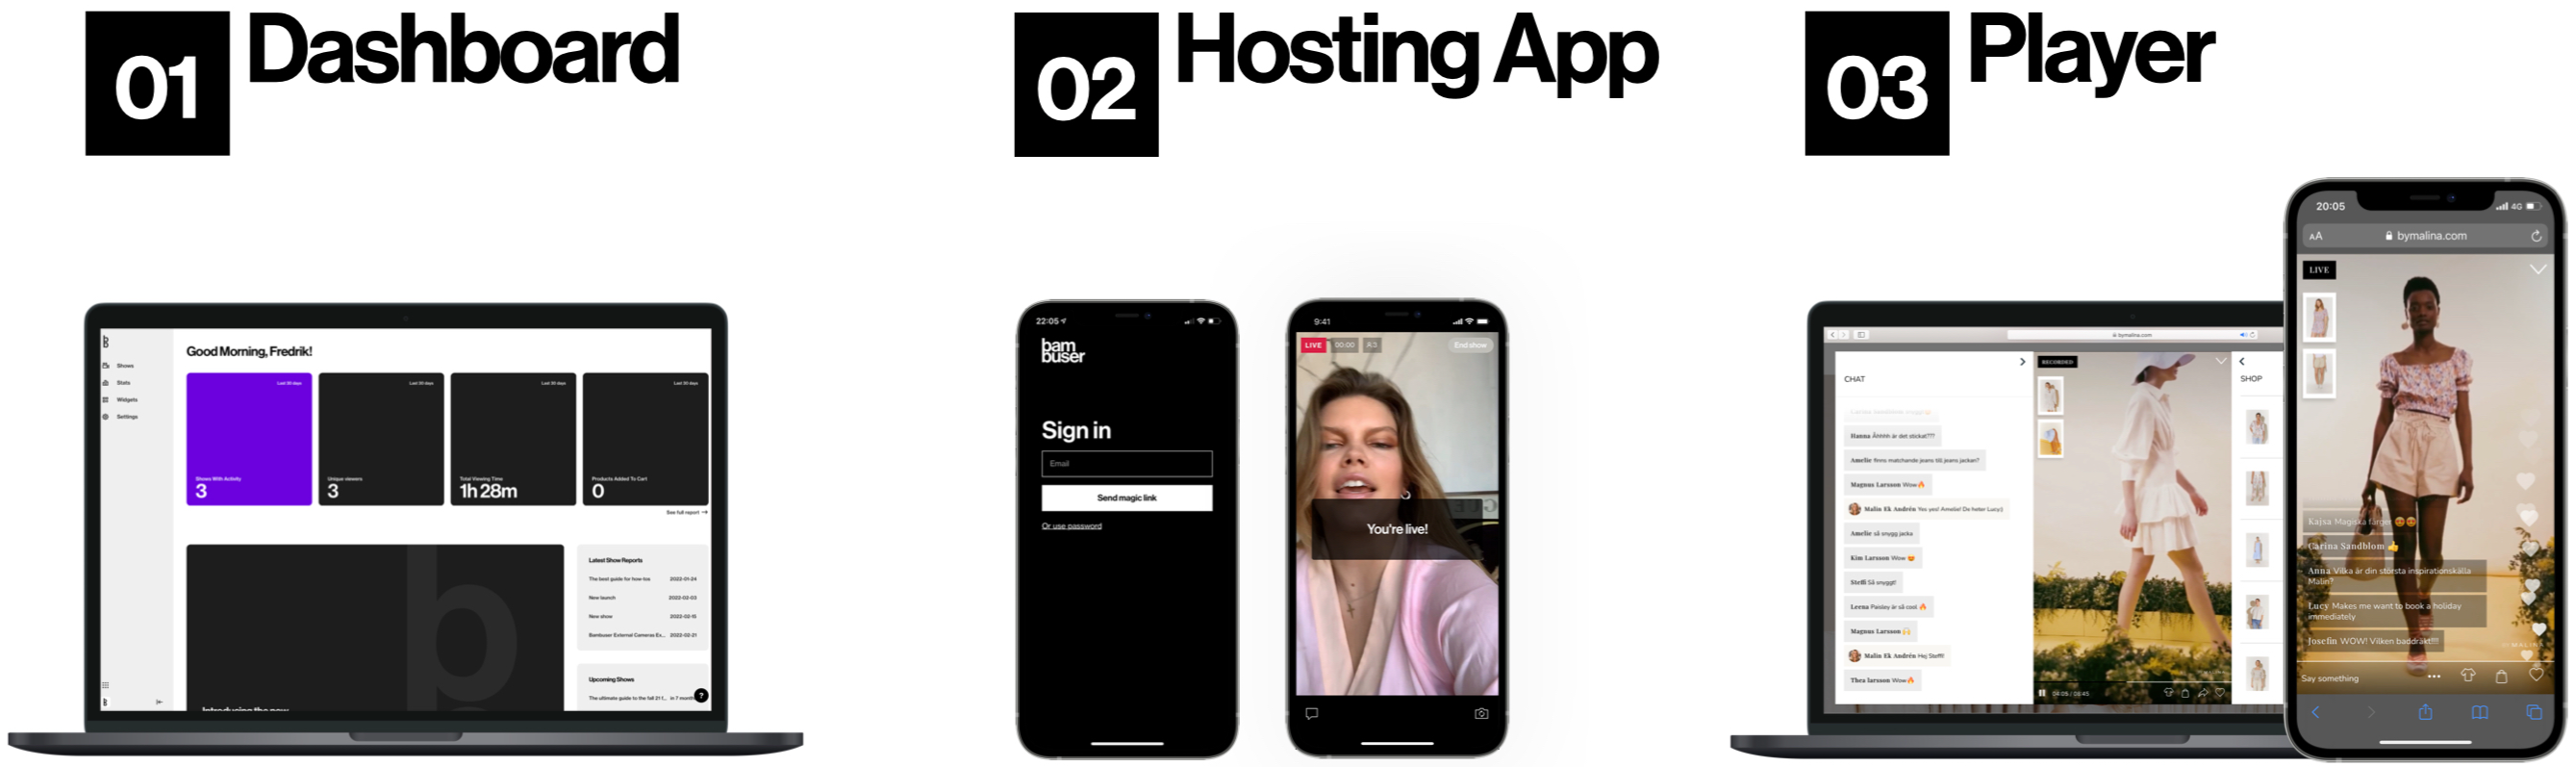
Dashboard (Desktop only)
The dashboard is where you:
- Create shows
- Manage users
- Moderate chat & products
- Assign host
- See show stats
- Edit clips & more
App (iOS & Android)
The app enables you to:
- Host shows
- Modify profiles
- Generate network tests
- Edit product lists
- Go live
- Moderate chat & products
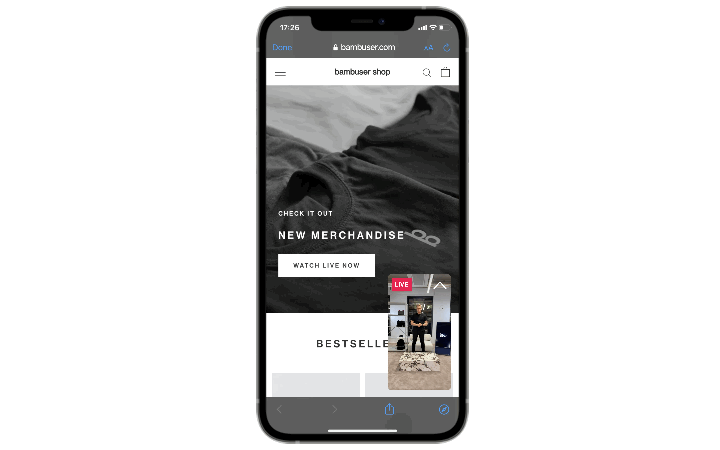
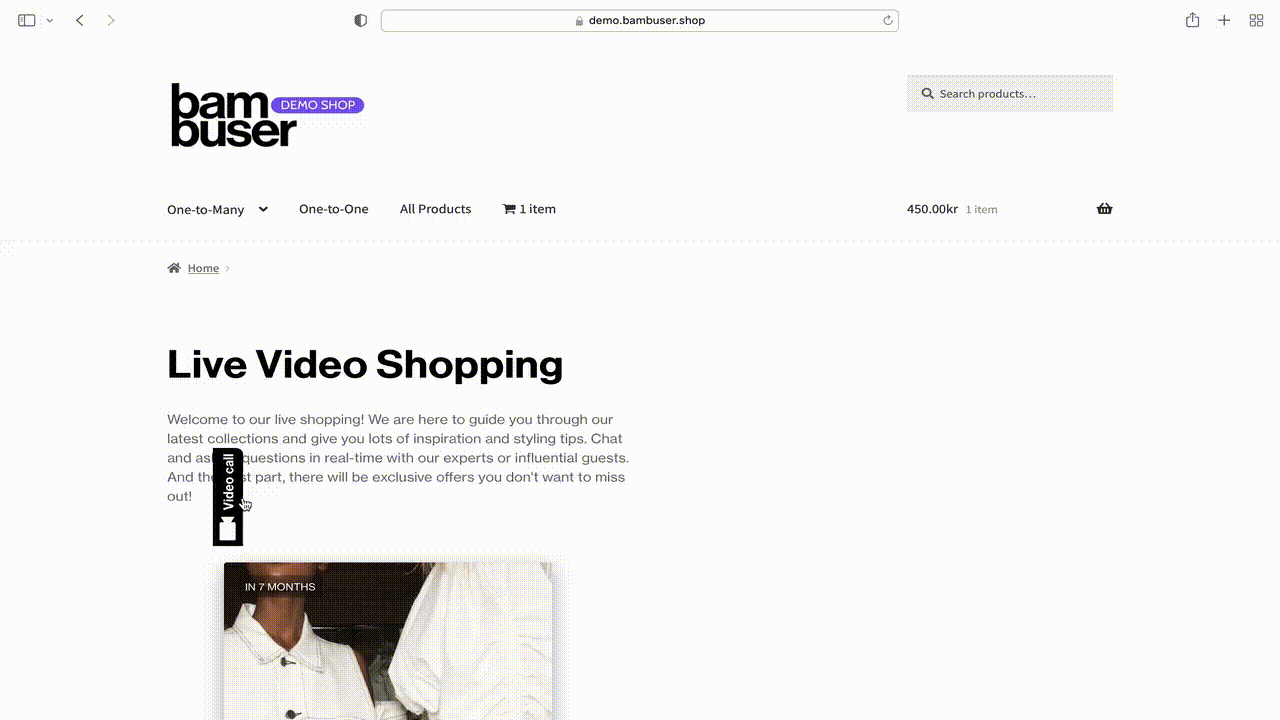
Player (Desktop & mobile)
The player is integrated into your site by you with our experts on hand to help. It features:
- Your branded design elements
- Unique Bambuser functionalities such as chat, likes, share-ability & more
- Various abilities depending on the type of integration (default, miniplayer, cart integration)
2. Player behaviors
Bambuser offers three different player options with various functionalities and experiences. We will deep dive into this in this guide, but here is an illustration
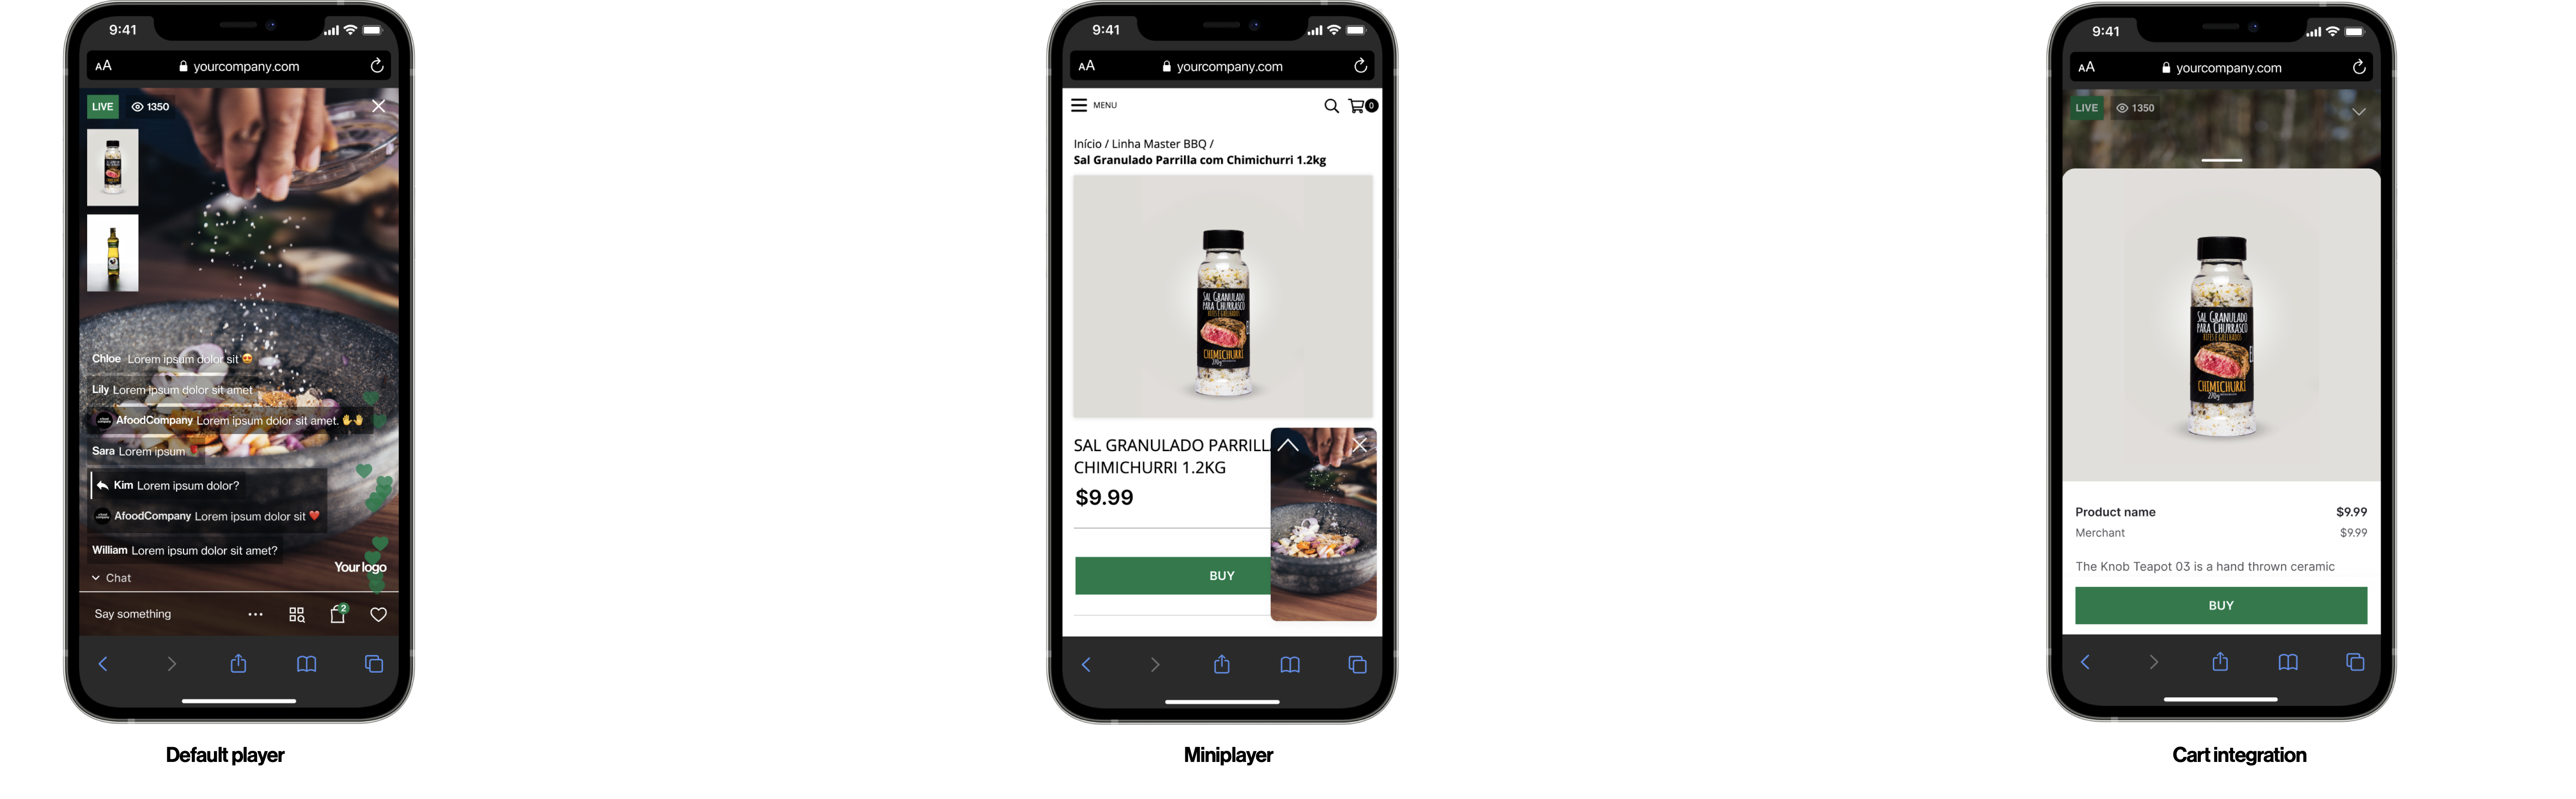
Default: What KPIs does it track?
Viewers
Viewing time
Chat
Likes
Sales & conversion (if conversion tracking is implemented)
You will not see stats in your dashboard regarding add-to-cart and add-to-cart click rate
Miniplayer: What KPIs does it track?
Viewers
Viewing time
Chat
Likes
Sales & conversion (if conversion tracking is implemented)
You will not see stats in your dashboard regarding add-to-cart and add-to-cart click rate
Cart integration: What KPIs does it track?
Viewers
Viewing time
Chat
Likes
Add-to-cart & add-to-cart click rate
Sales & conversion (if conversion tracking is implemented)
3. Bambuser's Key Features
3.1 Livestreaming options
We offer three different streaming options depending on which format works best for your brand:
- Bambuser App
- Pre-recorded
- External cameras (RTMP)
You can change the video source in your show settings.
App (iOS & Android)
The Bambuser app:
- Stream from your back or front smartphone camera
- Available in App Store & Google Play
- Single Hosting
- Dual Hosting (needs to be activated by account manager)
You need to be added as an admin or host in the dashboard to be eligible to stream from the app.
Pre-recorded
Make all your videos shoppable. Upload already recorded video material directly to the platform and enable live sessions with chat and product highlights.
DeleteExternal cameras (RTMP)
External cameras, interstitials, and more! You can use RTMP to go live using professional production agencies.
- Multiple cameras
- Mixed media and interstitials
- Pre-recorded content
- Video overlays and more
RTMP needs to be activated by your account manager
You can head over to the section Livestreaming options after the onboarding guide
3.2 Social Media Multistreaming
Bambuser allows you to simultaneously stream your live events from your website to your social pages. Simply connect your account with an easy to use the plug-and-play feature to stream across:
Explore the feature integration (you can do this once you're finished onboarding)

3.3 Floating Action Widget
To help maximize viewers in your live shows by embedding the widget into as many pages on your site as you want to. It invites viewers into your live shows with an enticing video preview.
- Automatically invite site browsers to join your live shows
- Automatically displays a video preview of the show
- Visitors to choose to keep watching or minimize the live show
- Explore the feature Floating action button (you can do so after onboarding)
3.4 Channels
Channels is a pre-built landing page template that enables you to add shows without back-end support or the need to make code changes every time you want to display a new show on your website. Instead, you can manage your show library directly from the Bambuser Dashboard. Channels is efficient, smooth, and easy to use!
- Highlight your upcoming shows
- Create a content library
- Efficiently adding shows to your site
- Read more here (you can do so after onboarding)
4. Education Center
Last but not least, the Education Center is our extensive knowledge hub that provides you with a base to educate, guide, and support you and your team as you use our Live Video Shopping solutions.
5. Onboarding guide
This guide will help you understand the product, how the components work together, how you succeed best in the chat, or which setup is the best - selfie or studio? Follow the onboarding guide and you'll be ready to use Bambuser & utilize the platform to its fullest! 🚀
- Integrating Bambuser - First steps to integrating your player and conversion tracker
- The Dashboard - How does it work
- Player settings - What is Language, currency, chat terms, design
- How to go live - Create shows, moderation, testing
- Sharp test & verification - Do a rehearsal, test, and get verified
- Go live - How to promote, how to host, checklists
You should now have a good grip on the steps you need to complete. Now it's time to start your onboarding journey and become a Bambuser pro. Click below to get going, the first section up is How to integrate Bambuser! ➔ Click here for the next step: Integrating Bambuser