Customers can book a meeting via the Call widget by choosing ‘Book a Video Call' on the first screen. They will then be able to see the length of the service (based on the duration set by the manager), see the timezone and choose a date.
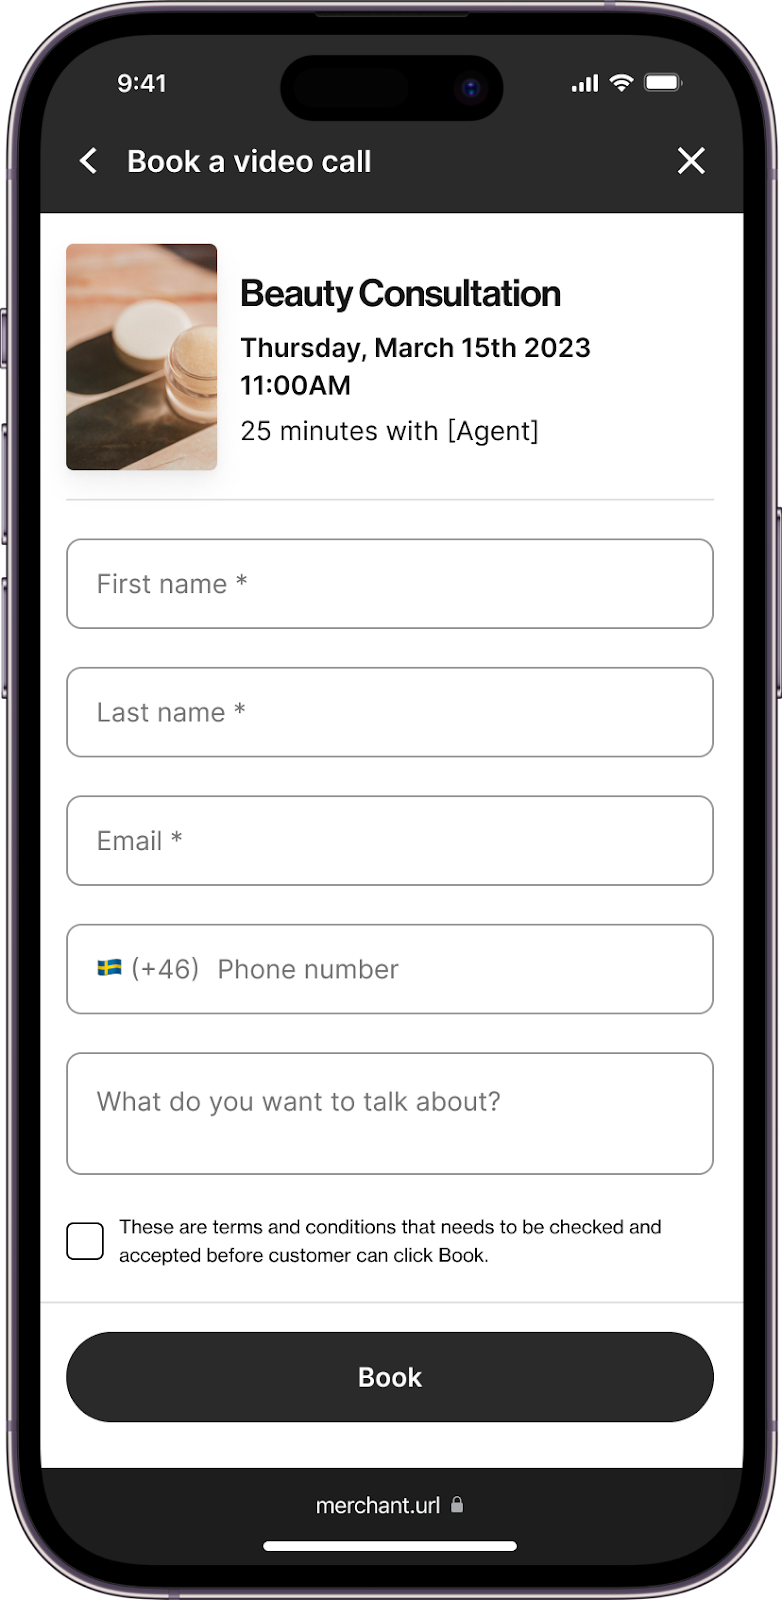
Clicking to choose a date will present a calendar view. The dates with available time slots will visibly differ from the dates that have no available slots. Choosing a date will lead them to see all the available time slots for that day. After choosing a time slot, they can Continue. On the next page, they will continue to (throughout the booking flow) see the name of the service, the date and time, and the duration of the session. They can now fill in their details.
- First name (required)
- Last name (required)
- Email address (required)
- Phone number
- Message
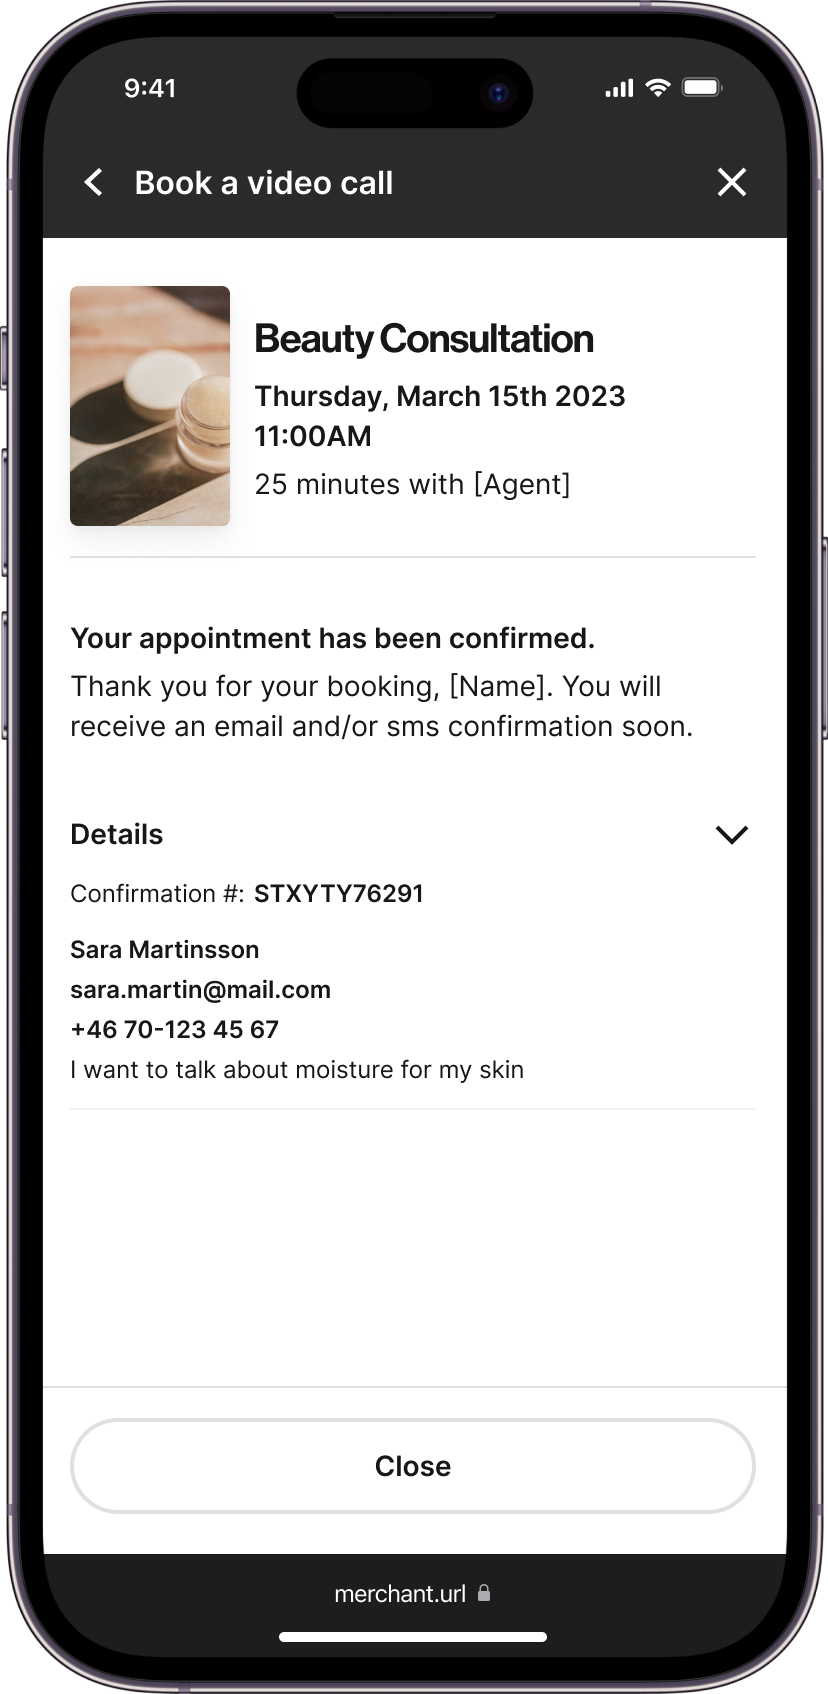
All these details will be included in the details view of an appointment, seen by both manager and agent. Confirming the booking will show a confirmation page including the name of the service, the date and time, the duration of the session and the personal details they filled in. The customer (and the agent assigned) will now receive a confirmation email.
 |
 |
Please note!
- The customer can not choose what agent they want to meet with. This is assigned automatically.
- The customer must book an appointment slot at least 10 minutes in advance.
- The customer can only book an appointment up to 4 weeks in advance. Days afterwards will be grayed out. If you want to modify that setting, contact you Bambuser contract person.